
GUIDE
Raised 3D UV Printing Guide for Business Cards
3D UV printing places a clear UV-cured coating only where the artwork calls for it, then builds enough height to create visible gloss and tactile relief. This guide explains the process, suitable designs and production artwork; the related product page is where you choose a standard specification and order.
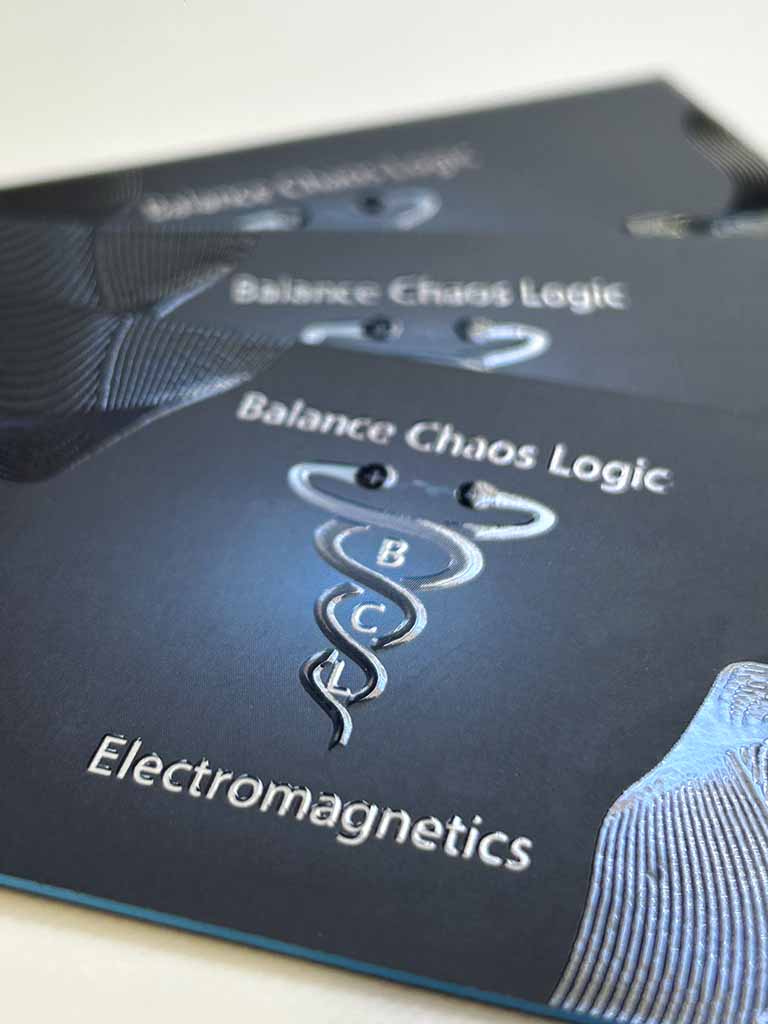
SELECTIVE
The clear coating follows a separate artwork mask rather than covering the whole card.
RAISED
A higher build creates relief that can be seen in angled light and felt by hand.
ADDITIVE
The effect sits above the surface; it does not form the paper like embossing.
HOW IT WORKS
How 3D UV printing builds clear relief.
3D UV printing is a selective surface-enhancement process. A digital system places a transparent UV-curable polymer or coating over the areas defined in a separate artwork mask. Ultraviolet light cures that material into a clear, glossy layer.
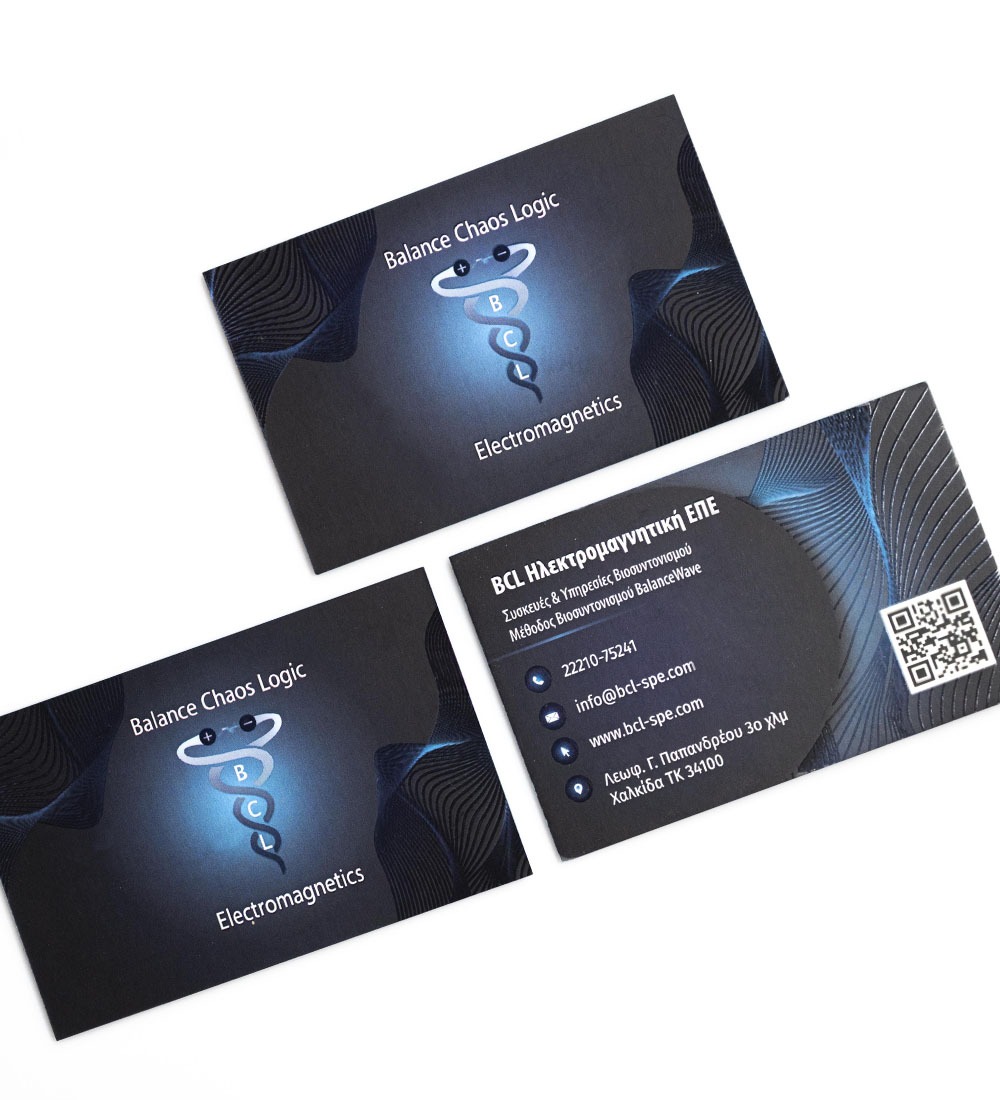
The work shown here was produced with MGI digital embellishment technology. The process can build more height than a conventional flat Spot UV specification. That extra build creates the characteristic rounded edge, stronger reflection and tactile relief associated with the name “3D UV”. The precise build depends on the substrate, artwork and chosen effect.
A smooth or laminated base is often selected because it gives the clear coating a controlled surface and strong visual contrast. Compatibility still has to be confirmed for the exact paper, print, film and production sequence.
PROCESS COMPARISON
Raised 3D UV, Spot UV or embossing?
All three can emphasize selected artwork, but they create the effect in different ways. The right choice depends on whether the design needs surface gloss, palpable height or a physically shaped sheet.
RAISED 3D UV
Clear gloss with tactile height
A transparent layer sits above a smooth or laminated face. Printed colour remains visible beneath it, and there is no matching impression on the reverse.
SPOT UV
Selective gloss with little build
Conventional Spot UV changes sheen more than height. It suits artwork that needs contrast without a strongly raised surface.
EMBOSSING
Paper shaped with pressure
Embossing or debossing forms the sheet with matched tooling. The relief belongs to the paper rather than to a clear coating added above it.
WHAT IT CHANGES
Light, texture and emphasis.
The coating is transparent, so the effect comes from the relationship between reflection, height and the printed surface beneath it.
01
Gloss contrast
Clear gloss can make a mark, pattern or line appear only when it catches the light, especially against a matt background.
02
Tactile relief
A higher build gives fingers a physical route across the design without pressing the artwork into the stock.
03
Printed colour beneath
Because the layer is transparent, printed colour and detail remain visible below it while gaining shine and apparent depth.
WHEN TO USE IT
Best when the artwork can work in light and touch.
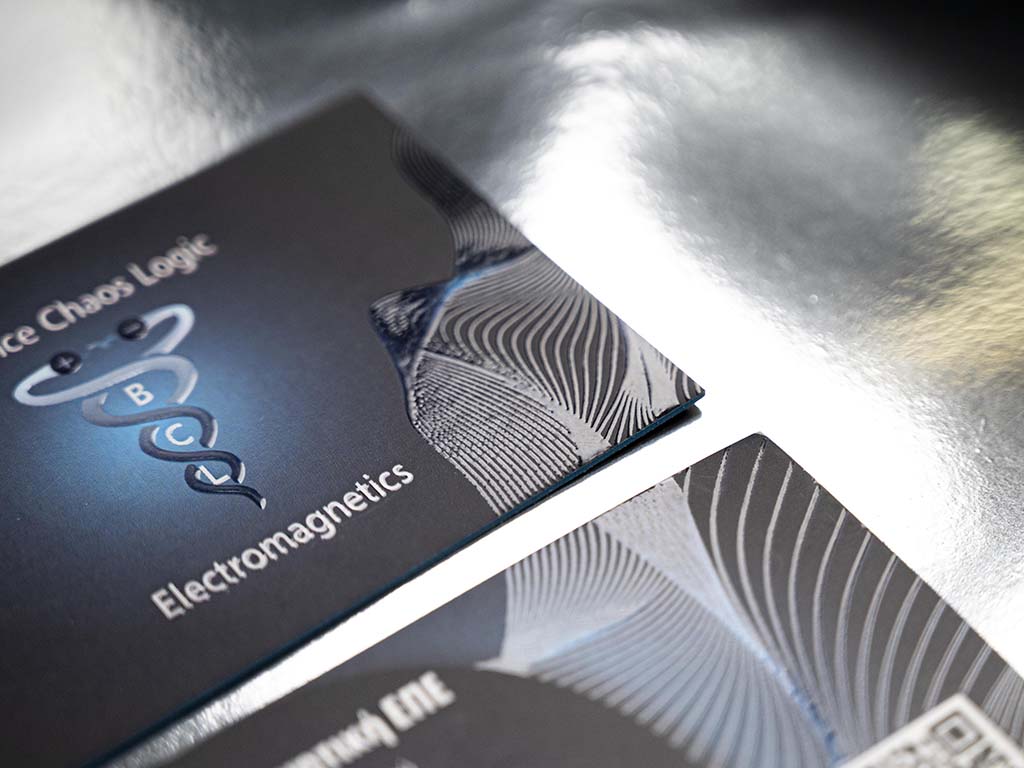
3D UV printing suits restrained patterns, line work, symbols and selected typographic details. On a dark matt surface it can appear almost hidden head-on, then become pronounced as the card tilts.
It is different from embossing and debossing. Those processes shape the sheet with pressure and tooling; 3D UV adds a clear layer above it and does not create a corresponding relief on the reverse.
CONSIDER BEFORE CHOOSING
- Fine gaps and small counters can close as the coating builds.
- The exact paper, print and laminate must be compatible with the coating system.
- Registration is visible when the clear mask follows printed detail closely.
- Foil, painted edges and other finishes require an agreed production sequence.
ARTWORK PREPARATION
Build a separate mask for the raised areas.
For 3D UV printing, supply the raised artwork as clean vector shapes on its own clearly named layer. Use a single spot colour to show where the clear coating belongs and keep it separate from print, foil, cutting and edge-colour information.
Solid masks are the safest starting point. Greys or transparency should not be used to imply different heights unless that behaviour has been agreed for the specific production system. Keep important raised detail away from trims, folds and other areas where the coating could be damaged.
FINISHED WORK
The effect changes as the card moves.
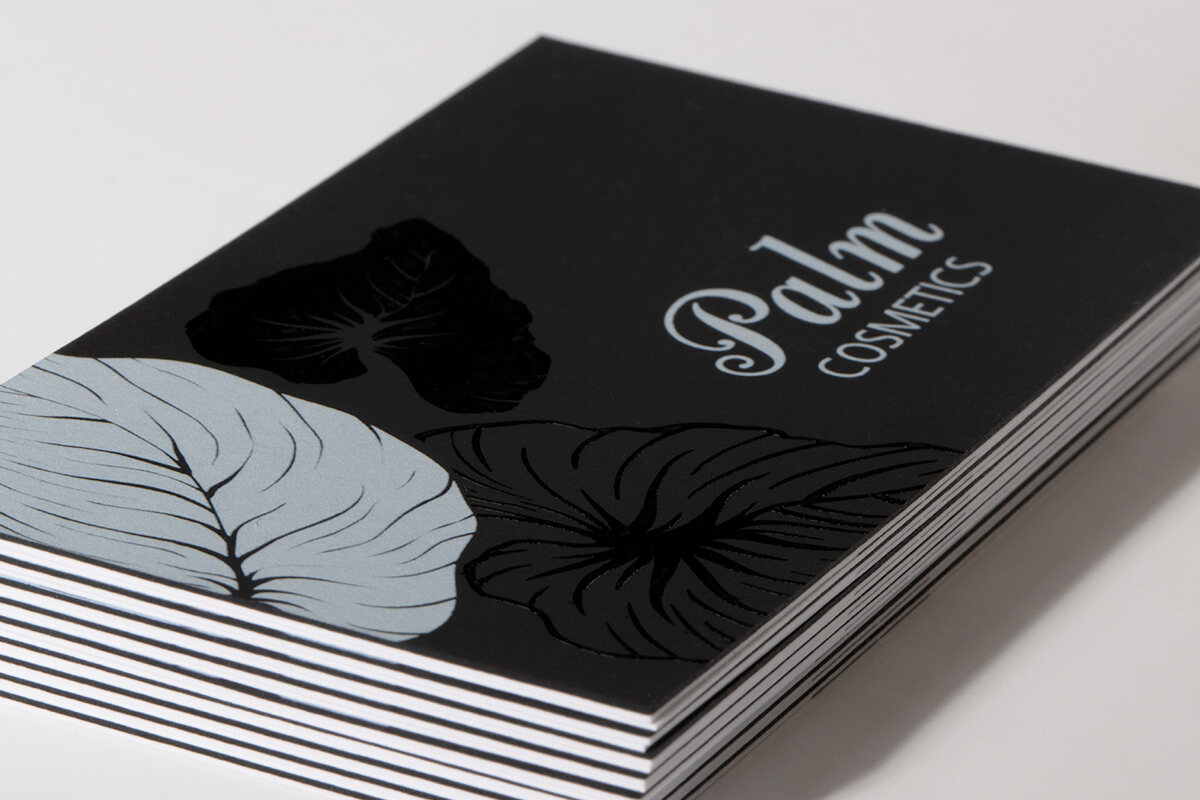
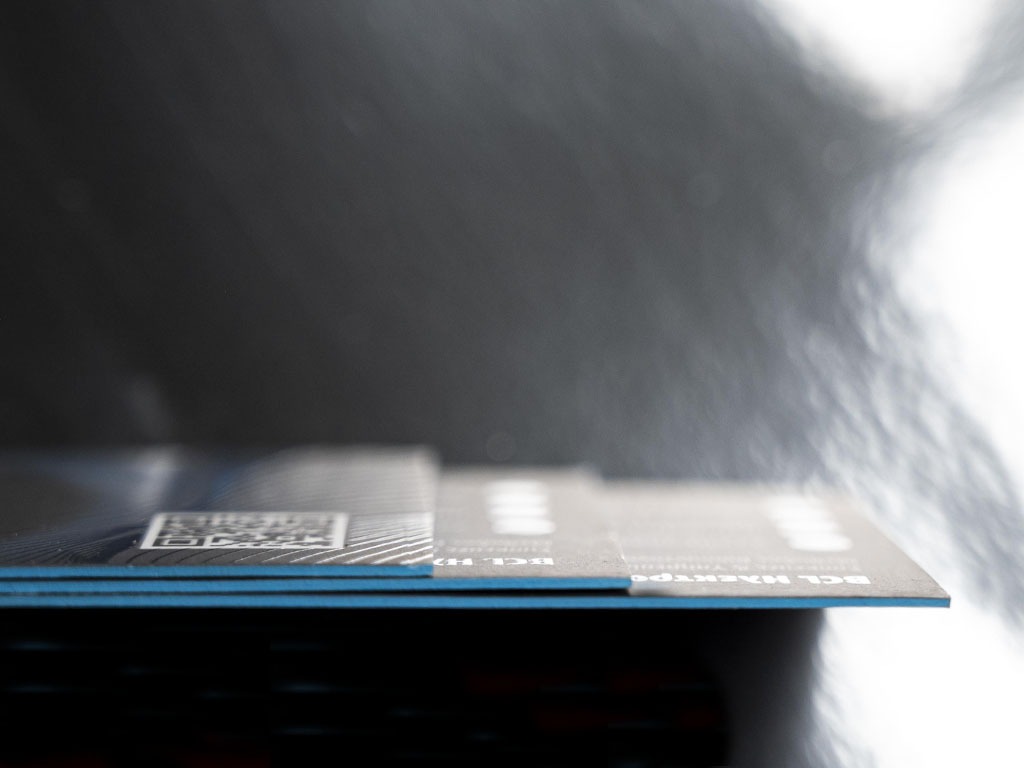
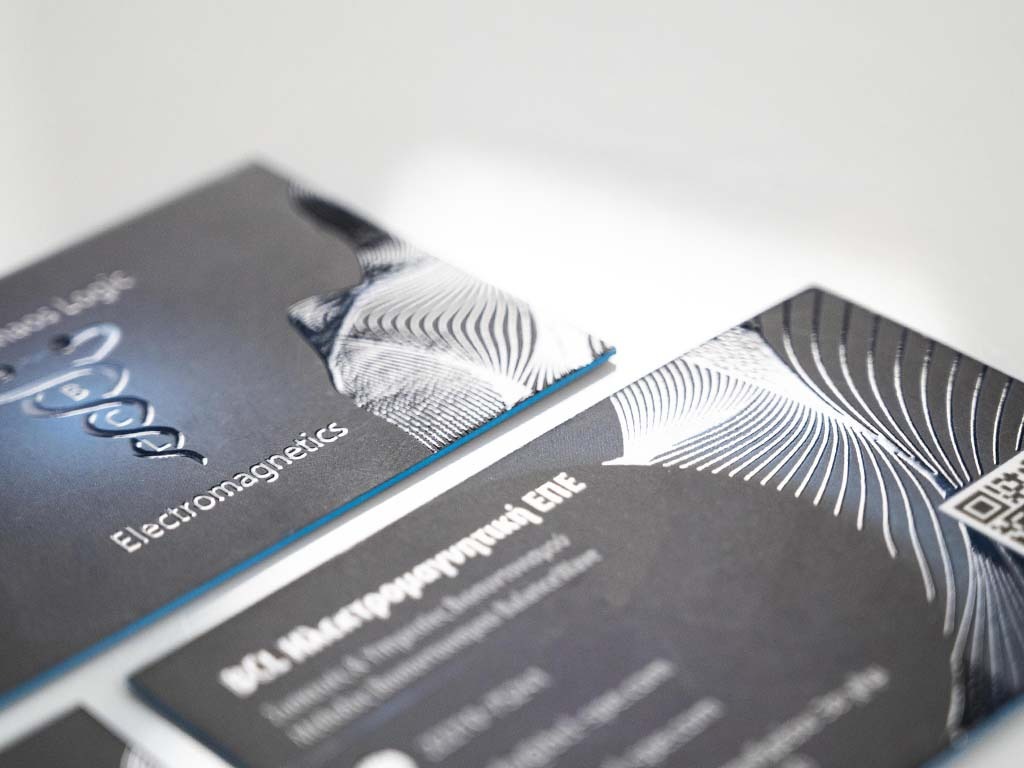
The main 3D UV printing example comes from Kartomania’s Electromagnetics project: a laminated dark card with raised clear detail and a contrasting blue edge. The artwork example comes from the Palm project, where raised gloss follows selected leaf shapes over a matt black Plike face. Both show why every operation has to be planned as part of the complete construction.
QUICK ANSWERS
Three practical answers about 3D UV printing.
01
Is 3D UV printing the same as Spot UV?
No. Both add selective clear gloss, but raised 3D UV has a higher, more tactile build. Conventional Spot UV is primarily a contrast in sheen.
02
Can 3D UV printing reach the cut edge?
Not in the standard online specification. The raised mask must remain safely inside the finished trim so the coating is not cut or damaged at the edge.
03
What artwork does 3D UV printing need?
A separate vector mask registered to the print artwork. Use solid shapes, name the layer clearly and keep the mask independent from print, foil and cutting information.
CHOOSE YOUR ROUTE
Choose the standard product or a custom review.
The online product covers a defined two-sheet laminated construction. Use it when that specification fits; choose an expert review when the paper, coverage or combination of finishes falls outside the standard route.
STANDARD ONLINE PRODUCT
Configure Raised 3D UV Business Cards
Choose quantity, size, matt or soft-touch lamination and the permitted profile options for two printed 400 gsm sheets with selective raised 3D UV on both sides.
CUSTOM PROJECT
Review a different construction
Send the design, quantity and timing when you need another paper, unusually extensive coverage or a more complex sequence of specialist finishes.
REAL PRODUCTION EVIDENCE
See raised clear detail on complete card projects.
The BCL and Anagram projects show how raised gloss behaves with dark printed artwork, lamination and painted edges. Their recorded specifications remain separate from the current standard online product.